1. Prerequisites
Before proceeding, ensure that you have the following steps completed:
- Access to the super administrator account for Google Workspace.
- Have admin access to the Trusona Dashboard. If your company does not have an account, visit the Trusona Dashboard to create one. Otherwise, consult with the owner of your company’s Trusona Dashboard account in order to create the integration.
2. Configuring SAML in the Trusona Dashboard
2.1. Create the SAML Integration
- Navigate to the Trusona Dashboard and log into your account.
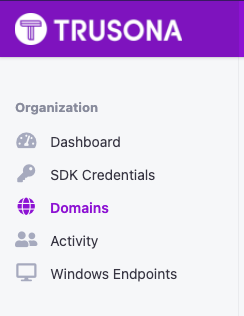
- From your Trusona account dashboard, select ‘Generic SAML’ on the left-hand navigation.

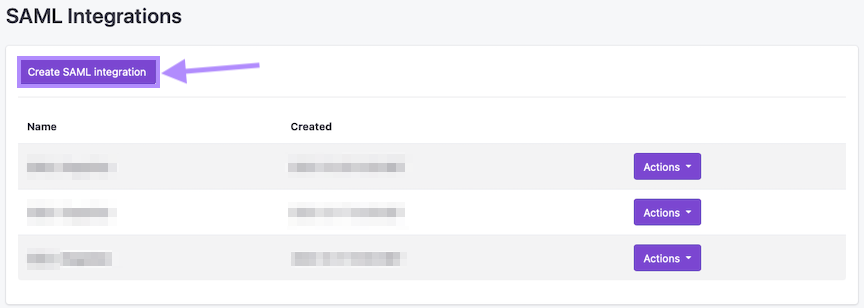
- On the Generic SAML Integrations page, click on ‘Create SAML Integration’.
- Enter the following information:
- Name: Name of your integration
-
Assertion consumer service URL: Assertion consumer service URL (ACS) from Google.
https://www.google.com/a/domain.com/acs(‘domain.com’ is replaced with your actual primary Google Workspace domain name). Please see Google’s documentation for more information and examples.
- Select ‘Save’. You will be redirected back to the Generic SAML Integrations page.
- Find your newly created SAML integration, click on the ‘Actions’ button to the right, and select ‘Download Certificate’ and ‘View metadata XML’.
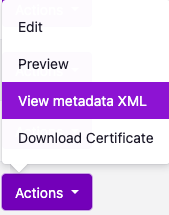

- In the Metadata XML file, find the following value:
- SSO Login URL: locate the SingleSignOnService, HTTP-POST line and make note of the URL.

- Click ‘Save’ at the bottom.

2.2. Verify the Domain
- From your Trusona account dashboard, select ‘Domains’ on the left-hand navigation.
- Enter the domain being used with Google Workspace.
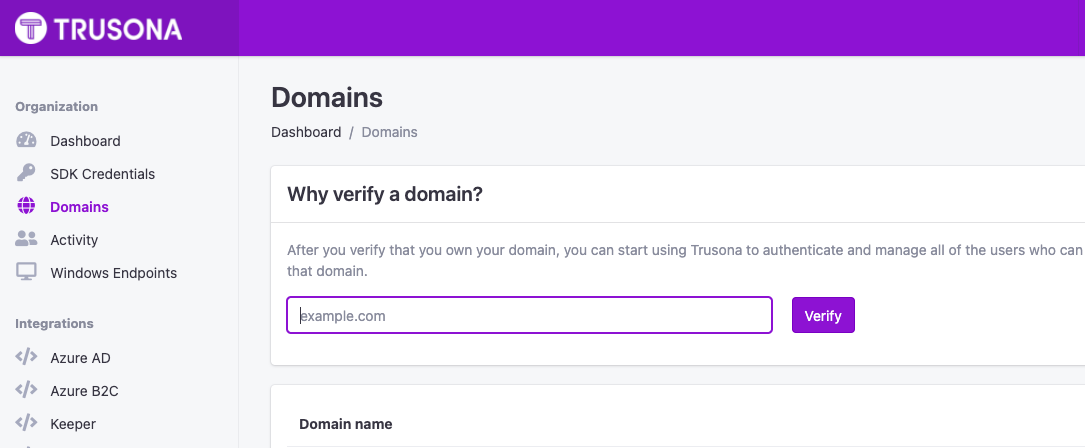
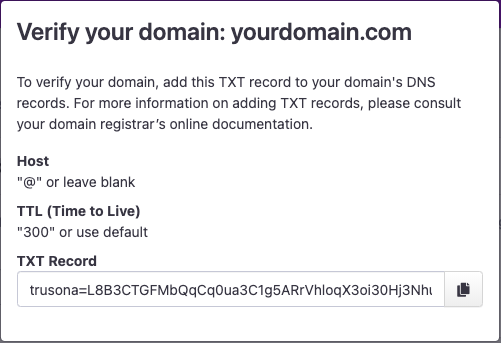
- Copy the TXT record.
- Add the TXT record to your domain’s DNS records. For more information on adding TXT records, please consult your domain registrar’s online documentation.
- For Google Domains, please consult Google’s Documentation for more information and examples.
3. Configuring Google Workspace
3.1. Configuring SSO with Trusona as IDP for Google Workspace:
- Login to Google Workspace.
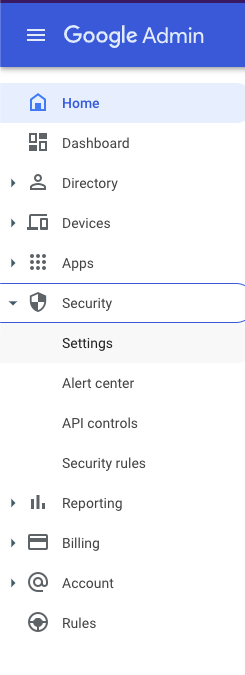
- Click on ‘Security’ on the left sidebar and select ‘Settings’.
- Scroll down the page and click ‘Set up single sign-on (SSO) with a third party IdP’.

- Click where it says ‘SSO profile for your organization’.
- Click on the empty box next to ‘Set up SSO with third-party identity provider’ to enable the SSO.
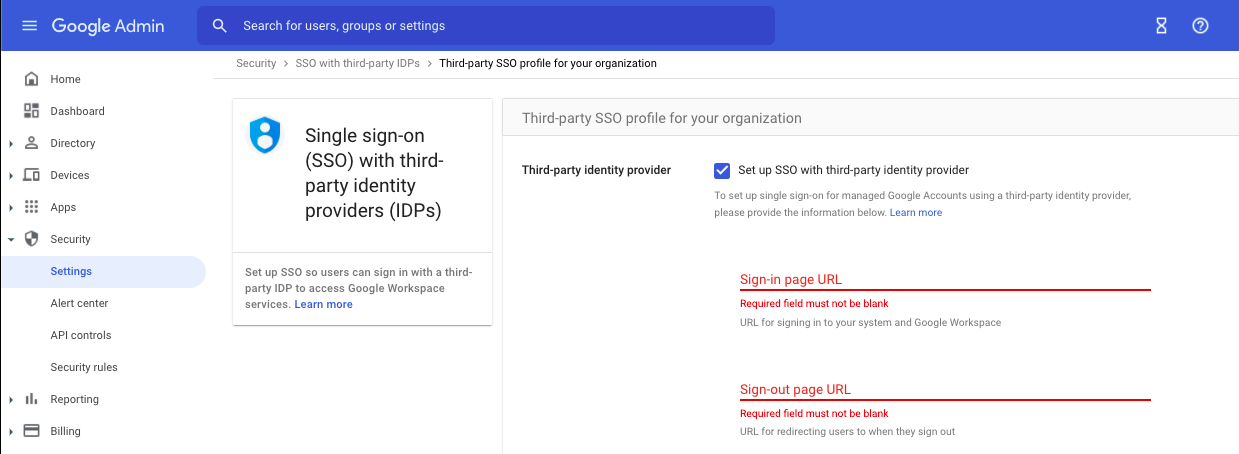
- Under ‘Sign-in page URL’, enter the ‘SingleSignOnService’ URL from the SAML Metadata.
- Under ‘Sign-out page URL’, enter your prefered logout url. If you are unsure, enter ‘https://accounts.google.com/’
- Upload the certificate into Google Workspace downloaded from the Trusona Dashboard.
- Leave the rest of the checkboxes and fields blank.
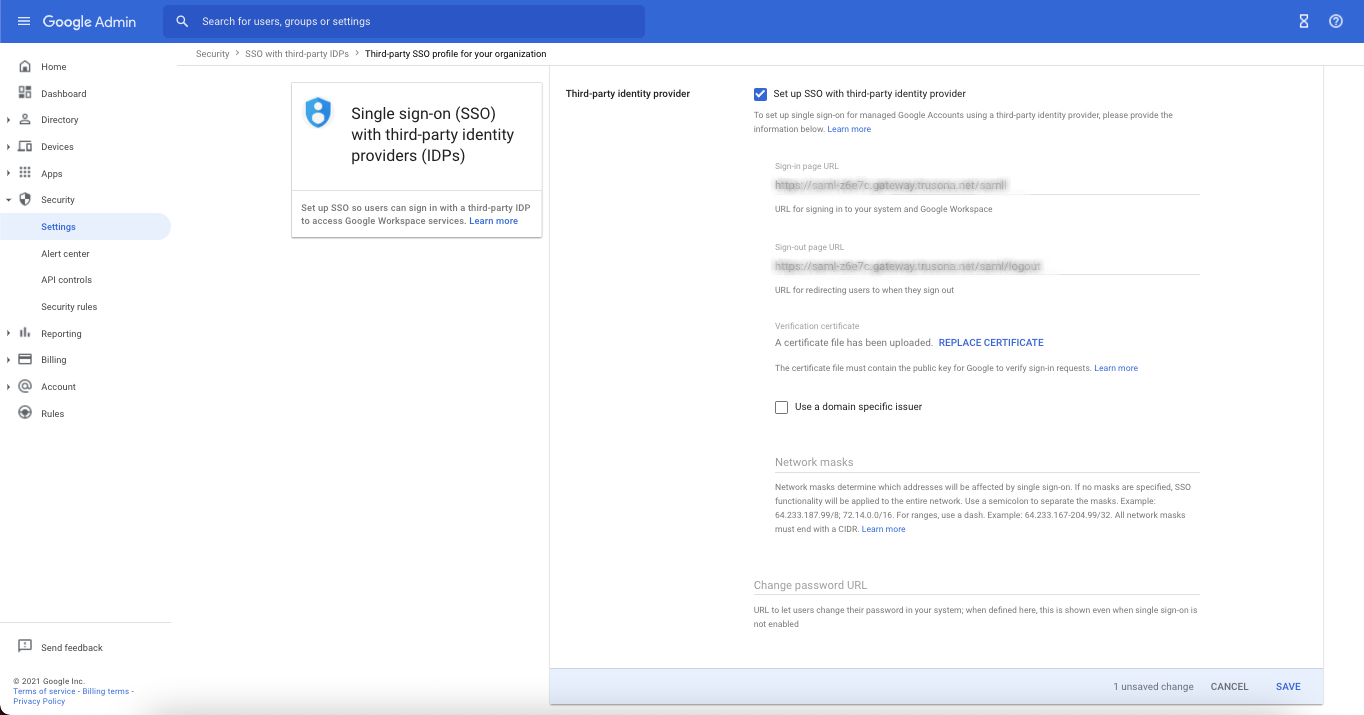
- Click ‘Save’ at the bottom right hand corner of the page.
SSO is now set for all users. You will need to create groups that control onboarding in order to prevent users from becoming locked out of their Google accounts behind Trusona SSO before creating their Trusona account. Steps 3.2 and 3.3 demonstrate how to set up groups.
3.2. Setting Up Groups in Google Workspace for SSO Profiles
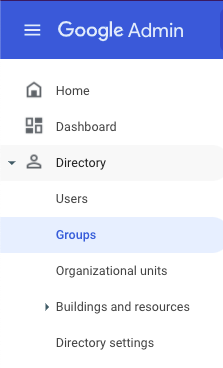
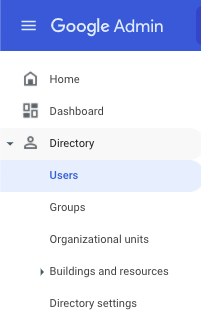
- Click ‘Directory’ and select ‘Groups’.
- Manually create an onboarding group and a full user access group.
- You will onboard users in the onbarding group then move them into the full user access group once they have set up their new email with the Trusona app.
- In the next section, we will show you how to turn Trusona off for the onboarding group and Trusona on for the full user access group.
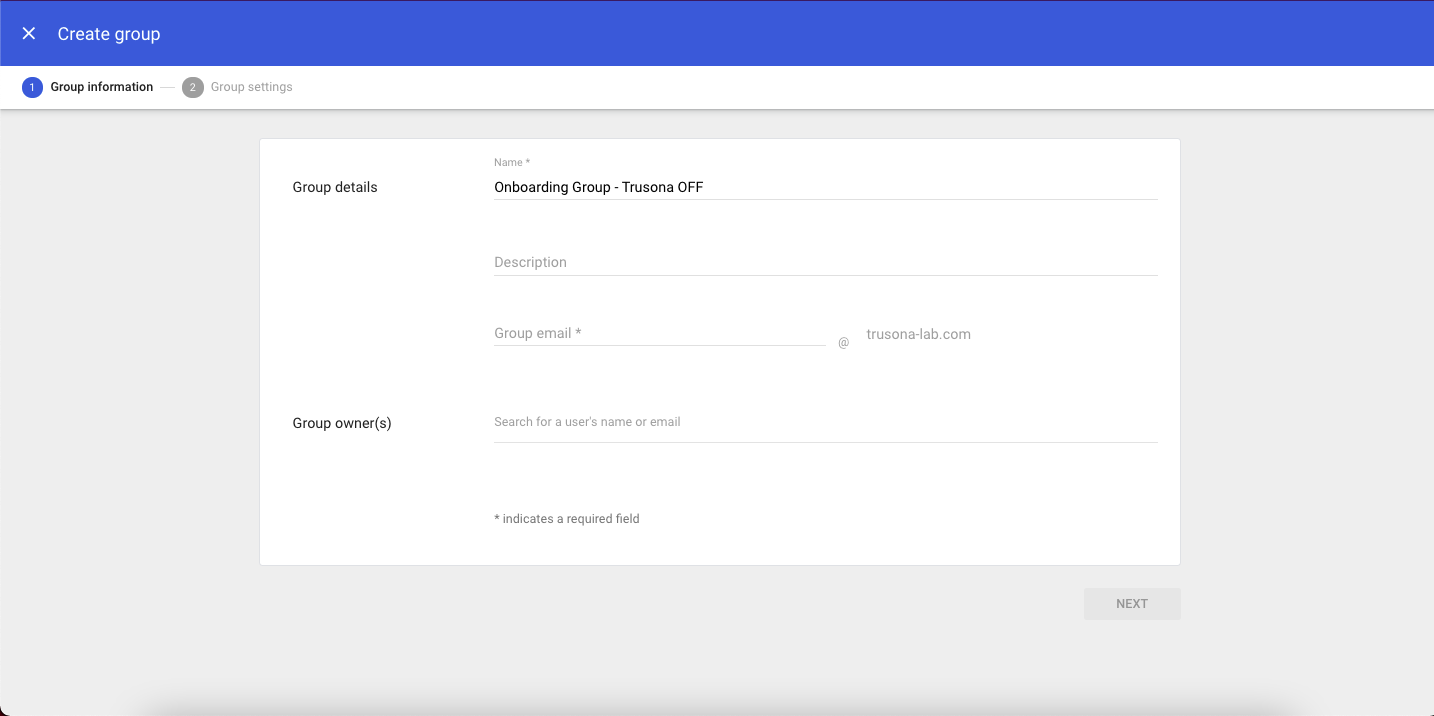
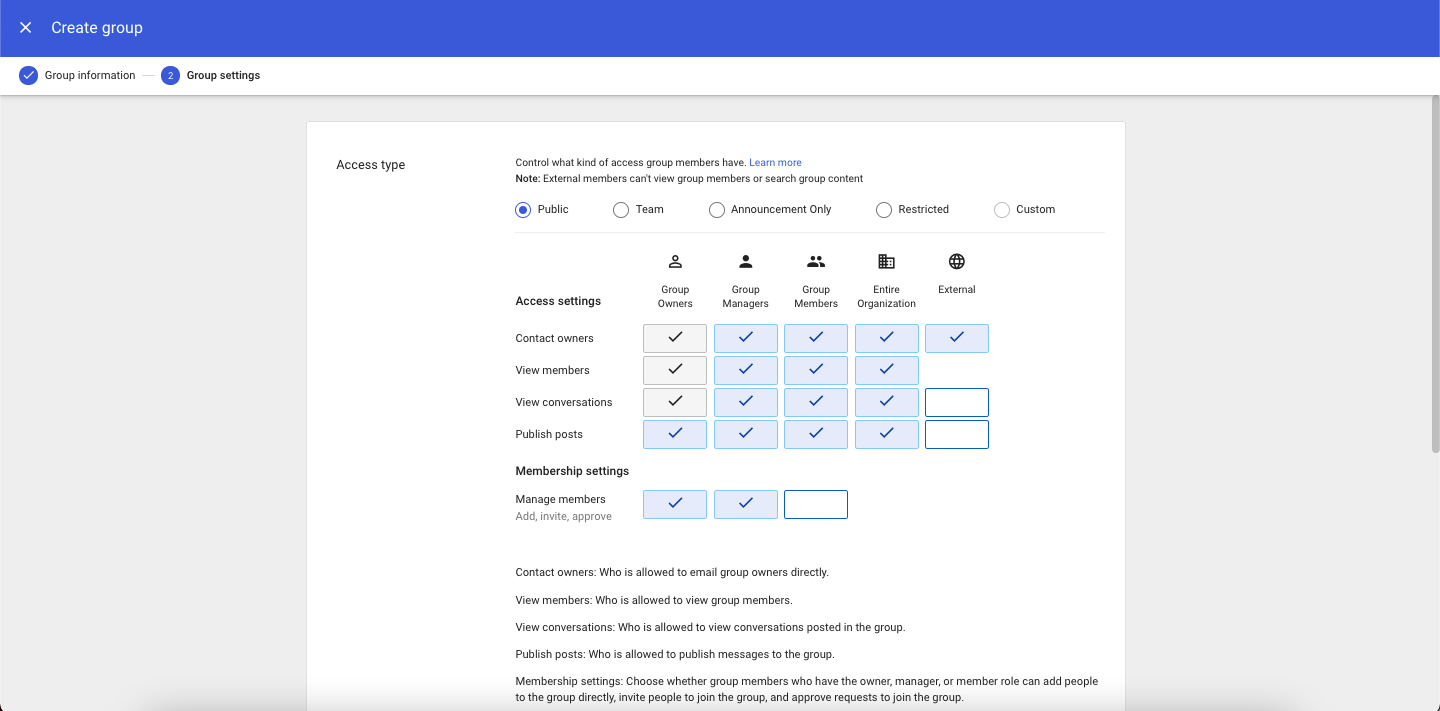
- Select ‘Create Group’ and create a onboarding group. You may name it anything but we reccomend having ‘onboarding’ in the name’.
- Select the desired group settings and click ‘Create Group’.
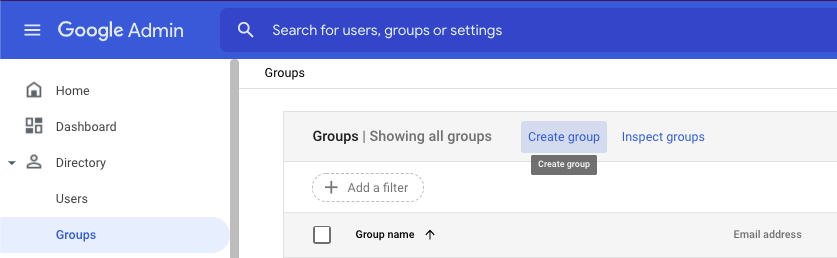
- Select ‘Create Group’ and create a full user access group. You may name it anything but we reccomend having ‘full user access’ or equivalent in the name.
3.3. Setting Up Users in Google Workspace Groups
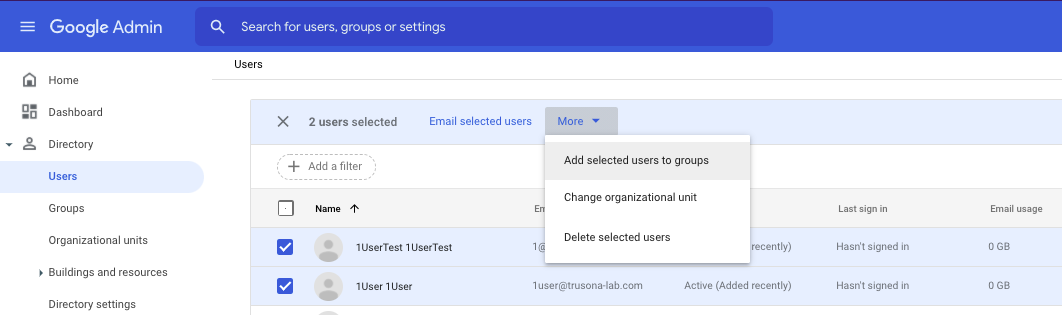
- Under ‘Directory’, select ‘Users’ on the left-hand sidebar.
- Select all applicable users by selecting the checkbox next to thier names, click ‘More’, and then ‘Add selected users to group’.
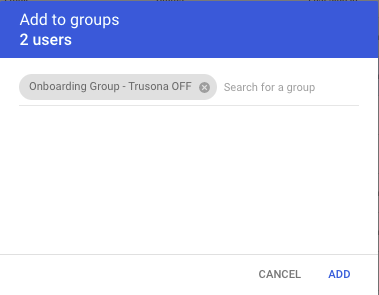
- Select the onboarding grooup and click ‘add’ to move all applicable users into the onboarding group.
- Once users have confirmed thier email account is linked to the Trusona app, follow the same process to add the applicable users to the full user access group.
- Delete all users from the onboarding group ensuring they are only in the full user access group.
3.4. Enable SSO Profiles in Google Workspace:
- Click on ‘Security’ on the left sidebar and select ‘Settings’.
- Scroll down the page and click ‘Set up single sign-on (SSO) with a third party IdP’.
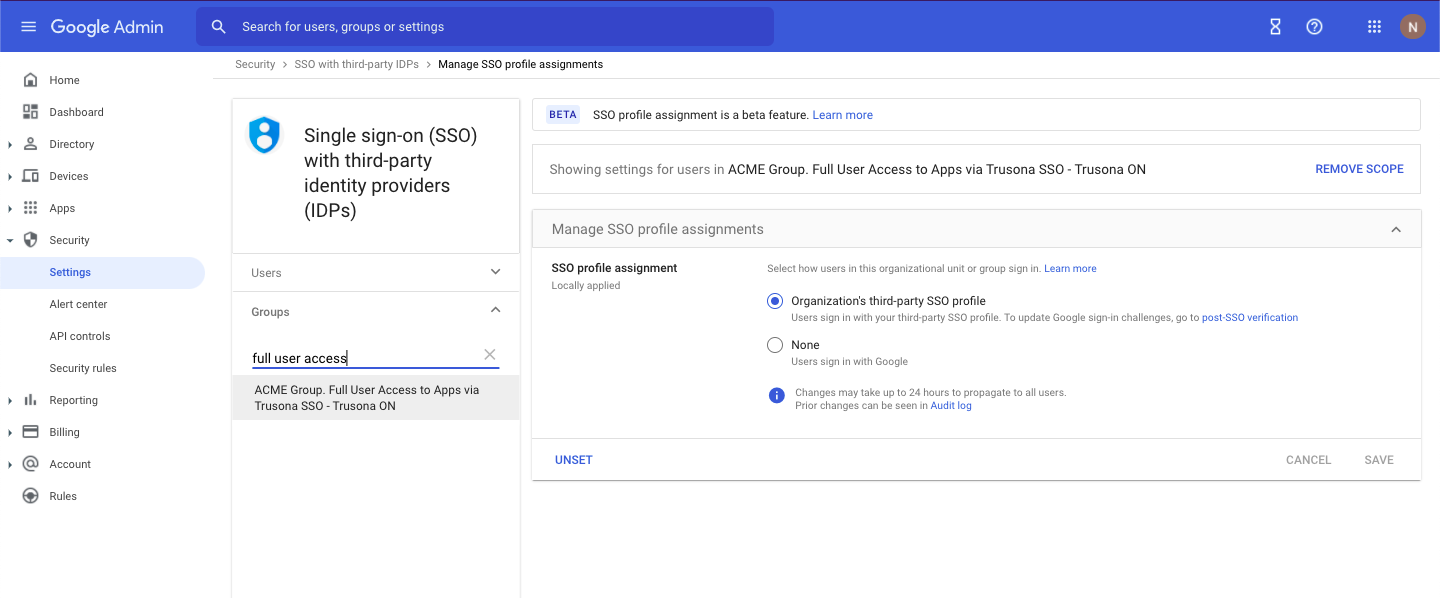
- Select ‘Manage SSO profile assignments’.

- On the lefthand sidebar, click ‘Groups’, search for the full user access group, and click on the full user access group.
- Enable Trusona for the group by selecting ‘Organization’s third-party SSO profile’.
- Navigate back to ‘Groups’ on the lefhand sidebar and select the onboarding group.
- Disable Trusona for the onboarding group by selecting ‘None’.
Users in the onboarding group login using Google. Once users set up their new account in the Trusona app, move them to the full user access group. Users in the full user access group are required to login with Trusona.