1. Prerequisites
Before proceeding, ensure that you have the following steps completed:
- Admin access to your SailPoint instance.
- Have admin access to the Trusona Dashboard. If your company does not have an account, visit the Trusona Dashboard to create one. Otherwise, consult with the owner of your company’s Trusona Dashboard account in order to create the integration.
2. Configuring SAML in the Trusona Dashboard
2.1. Create the SAML Integration
- Navigate to the Trusona Dashboard and log into your account.

- From your Trusona account dashboard, select ‘Generic SAML’ on the left-hand navigation.

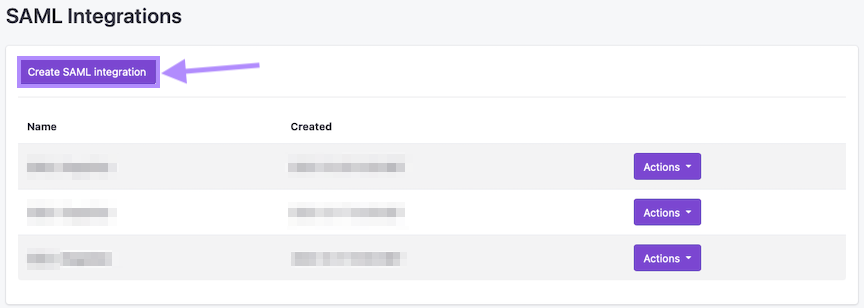
- On the Generic SAML Integrations page, click on ‘Create SAML Integration’.
- Enter the following information:
- Name: Name of your integration
- Select ‘Save’. You will be redirected back to the Generic SAML Integrations page.
- Find your newly created SAML integration, click on the ‘Actions’ button to the right, and select ‘Download Certificate’ and ‘View metadata XML’.
- In the Metadata XML file, find the following value:
- SSO Login URL: locate the SingleSignOnService, HTTP-POST line and make note of the URL.

- Click ‘Save’ at the bottom.

3. Configuring SAML in SailPoint IdentityIQ
3.1. Create the Correlation Rule
- Save the following code as a .xml file.
<?xml version='1.0' encoding='UTF-8'?>
<!DOCTYPE Rule PUBLIC "sailpoint.dtd" "sailpoint.dtd">
<Rule language="beanshell" name="Trusona SAML Rule" type="SAMLCorrelation">
  <Signature>
    <Inputs>
      <Argument name="log">
        <Description>
                    Logger to take care of logging.
                </Description>
      </Argument>
      <Argument name="context">
        <Description>
                    SailPointContext
                </Description>
      </Argument>
      <Argument name="assertionAttributes">
        <Description>
                    Map of attributes taken from the SAML assertion
                </Description>
      </Argument>
    </Inputs>
    <Returns>
      <Argument name="ident">
        <Description>
                    Matching identity based on the nameId taken from assertionAttributes
        </Description>
      </Argument>
    </Returns>
  </Signature>
  <Source>
        <![CDATA[
            // Imports
            import sailpoint.object.Identity;
            import sailpoint.object.Filter;
            import sailpoint.object.QueryOptions;

            // Making a BIG assumption here that the nameid-format is unspecified/persitent

            // Get the nameId from the assertionAttributes
            String nameId = (String)assertionAttributes.get("nameId");

            Identity ident;
            if(nameId != null) {
                // Lookup the identity based on nameId matching email
                QueryOptions options = new QueryOptions();
                options.addFilter(Filter.eq("email", nameId));

                int count = context.countObjects(Identity.class, options);
                if(count == 1){
                  Iterator iterator = context.search(Identity.class, options);
                  if (iterator.hasNext()) {
                      ident = iterator.next();
                  }
                }
            }

            return ident;
        ]]>
    </Source>
</Rule>
If the email address matches more than one user, it will not log any user in. If the email address does not match any users, no user will be logged in
- Navigate and log into your SailPoint login page.
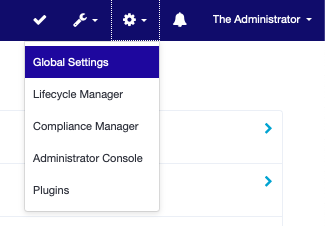
- In the upper-right hand corner of the page select the gear icon and choose ‘Global Settings’.
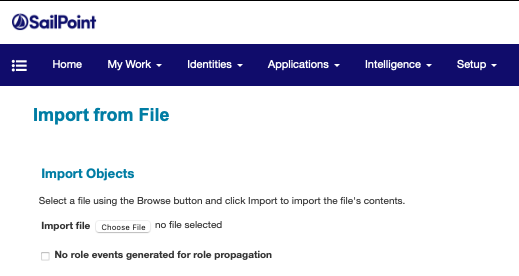
- Select ‘Import from File’. Under the ‘Import Object’ section, import the XML file you created above.
3.2. Configuring SAML
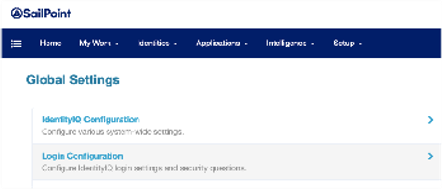
- Click on the gear icon and select ‘Global Settings’.
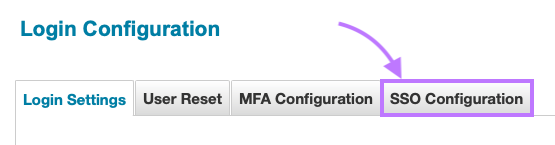
- Select ‘Login Configuration’.
- Navigate to SSO Configuration.
- Select the ‘Enable SAML Based Single Sign-On (SSO)’ checkbox.

Enter in the following information:
- Identity Provider Settings:
- Entity ID: https://gateway.trusona.net/saml/metadata
- SSO Login URL: This is the SingleSignOnService URL that was extracted earlier from the Trusona Metadata file.
-
Public X.509 Certificate: Open the certificate previously downloaded from the Trusona Dashboard and paste the file contents in this field. Make sure you include the
-----BEGIN CERTIFICATE----- & -----END CERTIFICATE-----
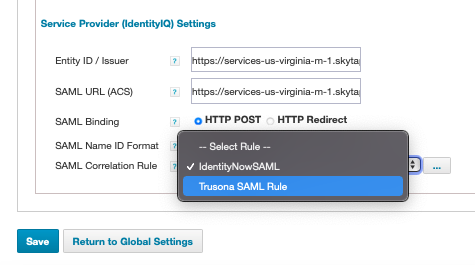
- Service Provider (IdentityIQ) Settings:
- Entity ID: Enter the entity ID. For example, https://identityiqserver.your-domain.com:your-port/identityiq
- SAML URL (ACS): Specify the IdentityIQ url where the SAML is to be accepted. For example, https://identityiqserver.your-domain.com:your-port/identityiq/dashboard.jsf
- SAML Binding: HTTP POST
- SAML Name ID Format: emailAddress
- SAML Correlation Rule: Change the ‘IdentityNow SAML Rule’ to the ‘Trusona SAML Rule’.
You can reference the SailPoint documentation for additional information and examples.
You may need to make an additional community account to access the link.
4. Configuring SAML in SailPoint IdentityNow
- Log into the IdentityNow platform as an Administrator.
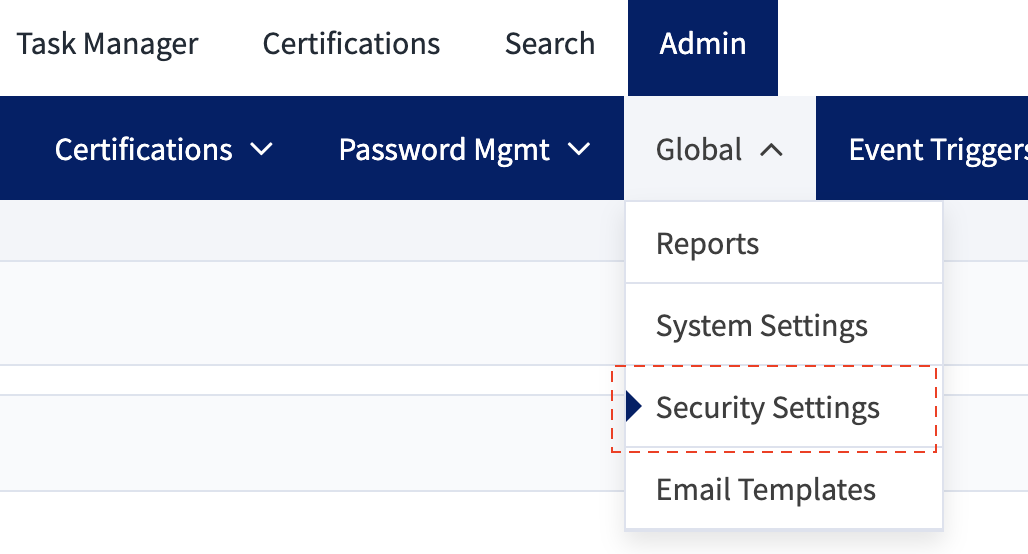
- Navigate to the ‘Admin’ tab.
- Navigate to ‘Global’ -> ‘Security Settings’.
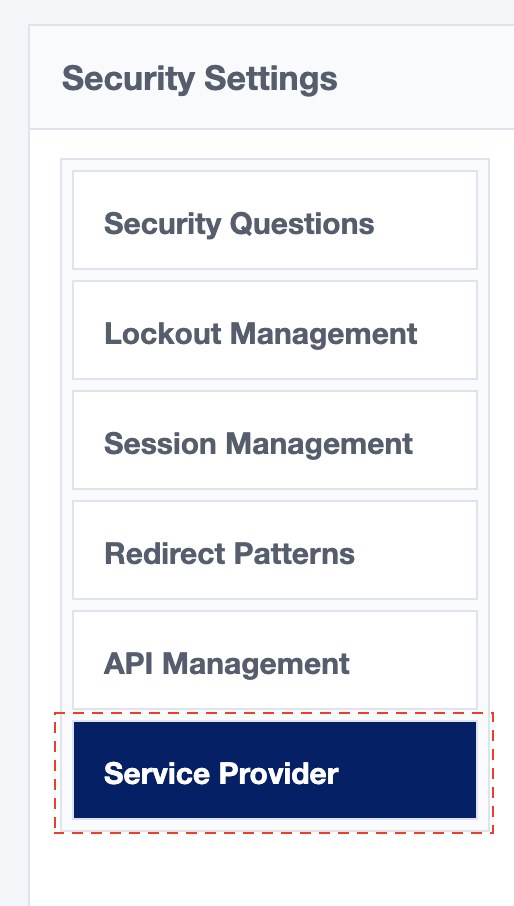
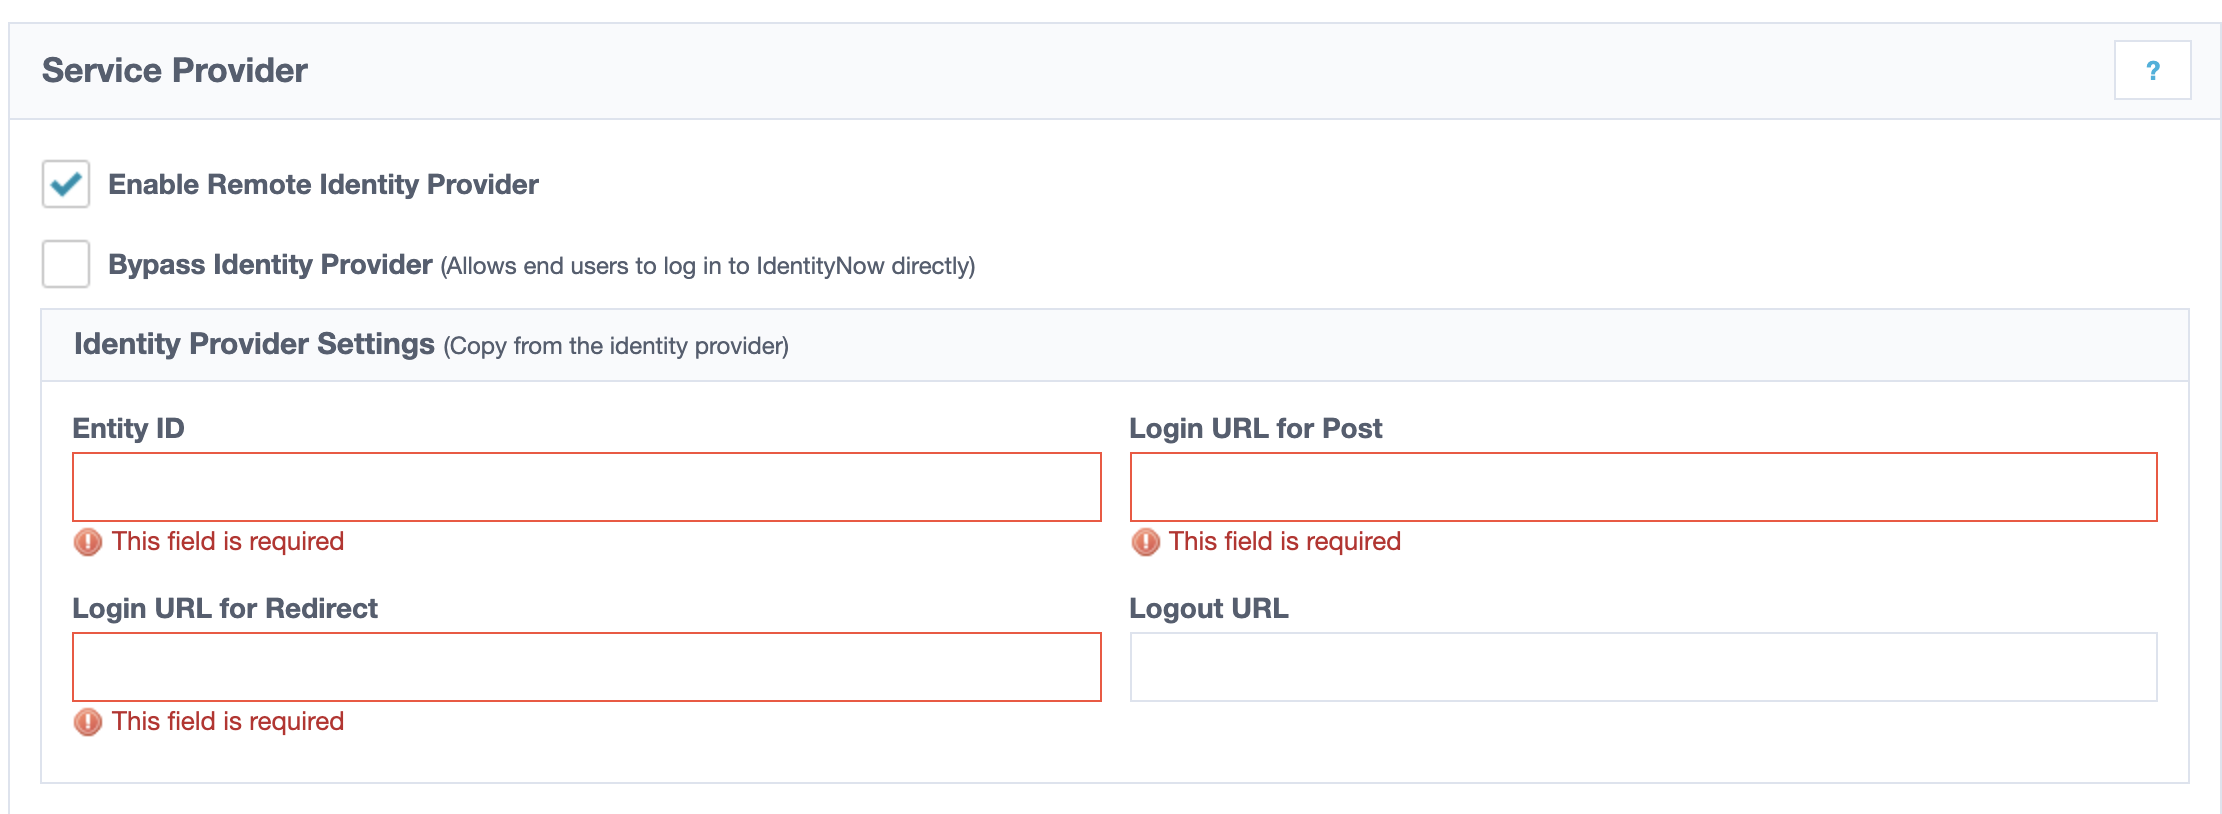
- Click the ‘Service Provider’ link on the left side of the screen.
- Click the ‘Enable Remote Identity Provider’, and fill out the Identity Provider Settings as follows:
- Entity ID: https://gateway.trusona.net/saml/metadata
- Login URL for Post: This is the SingleSignOnService URL that was extracted earlier from the Trusona Metadata file.
- Login URL for Redirect: This is the SingleSignOnService URL that was extracted earlier from the Trusona Metadata file.
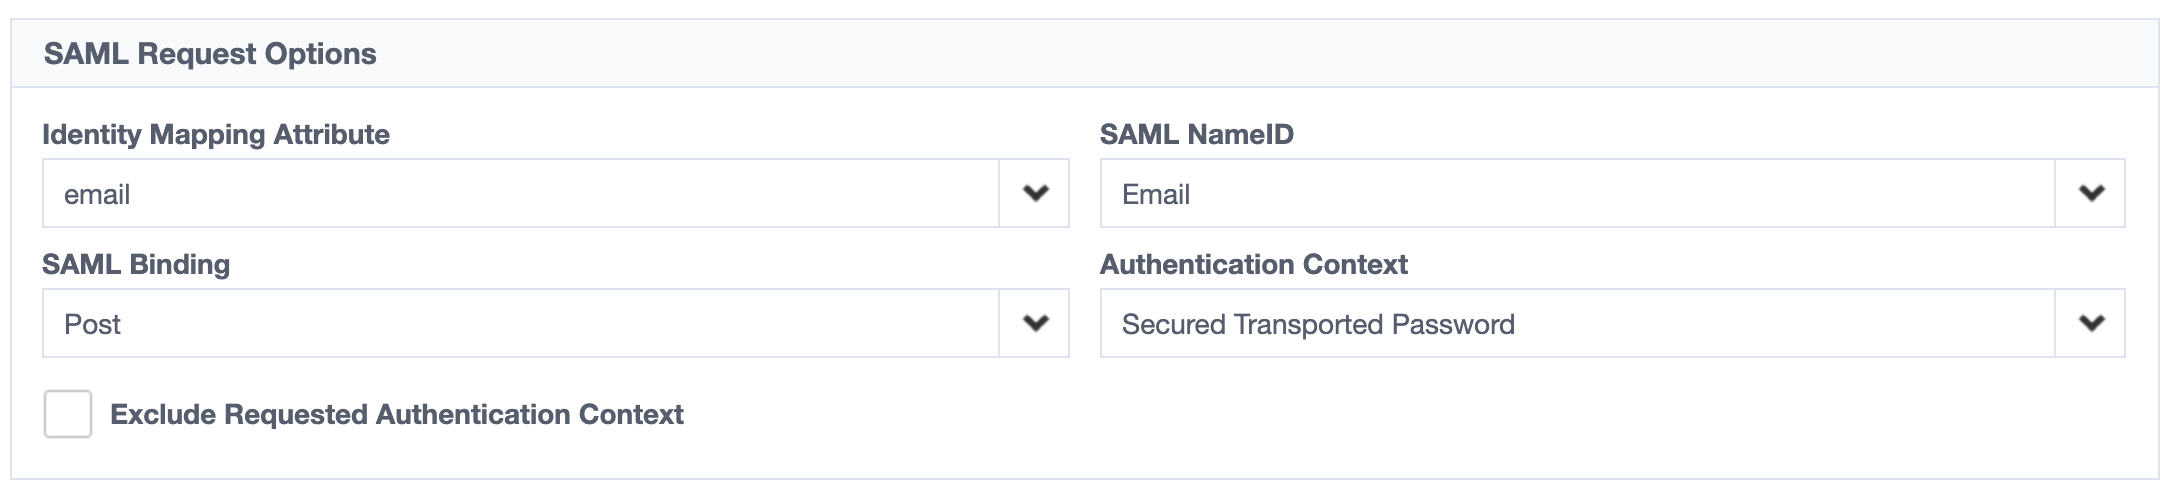
- In the ‘SAML Request Options’ section of this page, enter the following:
- Identity Mapping Attribute: Email (or whichever attribute represents the users primary email that is registered with Trusona
- SAML NameID: Email SAML Binding: Post
- Authentication Context: Secured Transported Password
- Import the X.509 Signing Certificate.

- Click ‘Save’.
5. Trusona SAML Configuration
- Log into the Trusona Dashboard.
- Select ‘Generic SAML’ on the left-hand navigation.
- Locate the SailPoint Integration you previously created and select ‘Actions’.
- Select ‘Edit’.
- In the Assertion Consumer Service (ACS) URL field, enter in the SAML URL ACS that is configured under the Service Provider (IdentityIQ) Settings section in SailPoint.
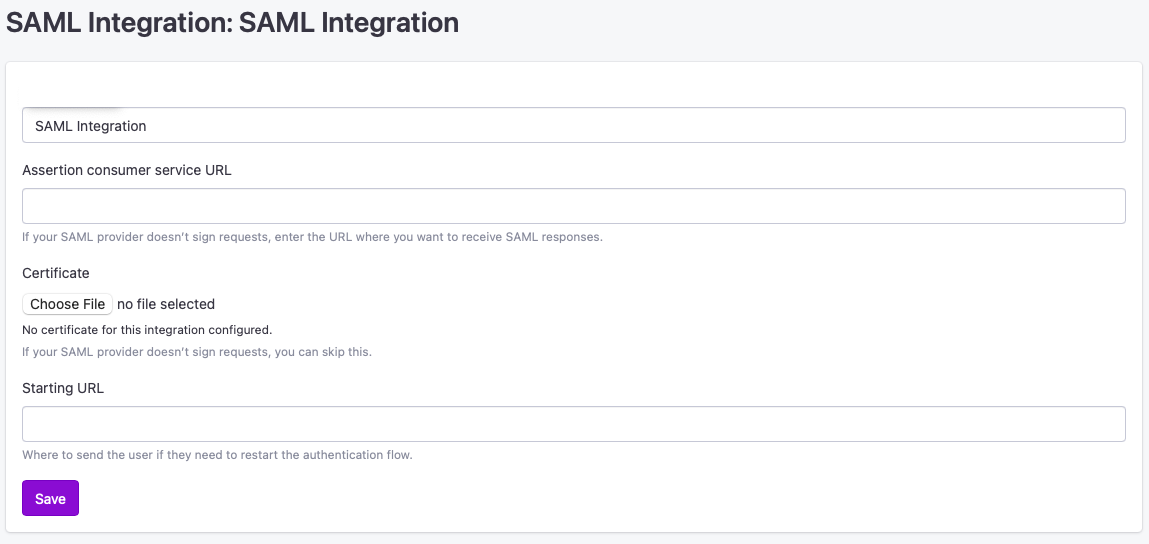
- Click ‘Save’.